Photographers near Panama City Beach Fl | What goes into the editing process?
Have you ever been curious about your photographer’s process after the session is over? What’s really happening when they are taking weeks to “edit”? If this is you, keep reading – as a photographer near Panama City Beach Fl (also servicing PCB, Destin, 30a, Mexico Beach + beyond) I’m here to give you the inside scoop!
The photography session is over, now what?
Once the session is over, your photos get “culled” & uploaded. This is when the photographer takes the time to examine & choose the best of the best photos. Each photographer has their own system for ranking and rating, but the end goal is narrowing down the hundreds of images to a manageable number of the best shots for further editing.

Onto the editing of your images!
After the session is culled and sorted, your photographer will begin their editing process. This process can vary greatly from artist to artist, but for many digital portrait photographers, the workflow is similar – the lighting and colors are adjusted and corrected, temporary blemishes may be removed, along with any distracting objects in the photo (for beach photographers, this can often mean removing multiple people & objects from the background). Often the basic editing begin in a program such as Adobe Lightroom and then final touches & adjustments are added in Photoshop.
How many changes does the photographer make to the original photo?
Attention to detail varies greatly in the field – some photographers prefer to take a natural approach with minimal alterations, while others produce a carefully finessed final image. Editing each photo can take anywhere from a couple of minutes to several hours PER PHOTO, depending on individual levels of expertise & preference for the final product.
Editing styles & presets as Panama City Beach FL Photographer
Many successful photographers develop a particular editing “style” that allows their portfolio to maintain a cohesive and consistent look. This also shows potential clients what to expect. In order to increase efficiency, a lot of photogs elect to purchase or create actions & presets to use on their images. What is a preset you might ask? A preset is a similar concept to a filter – a saved list of “steps” in a program such as Lightroom. The trick here is that every lighting & color situation is not the same – so additional tweaks and adjustments are generally needed session to session.
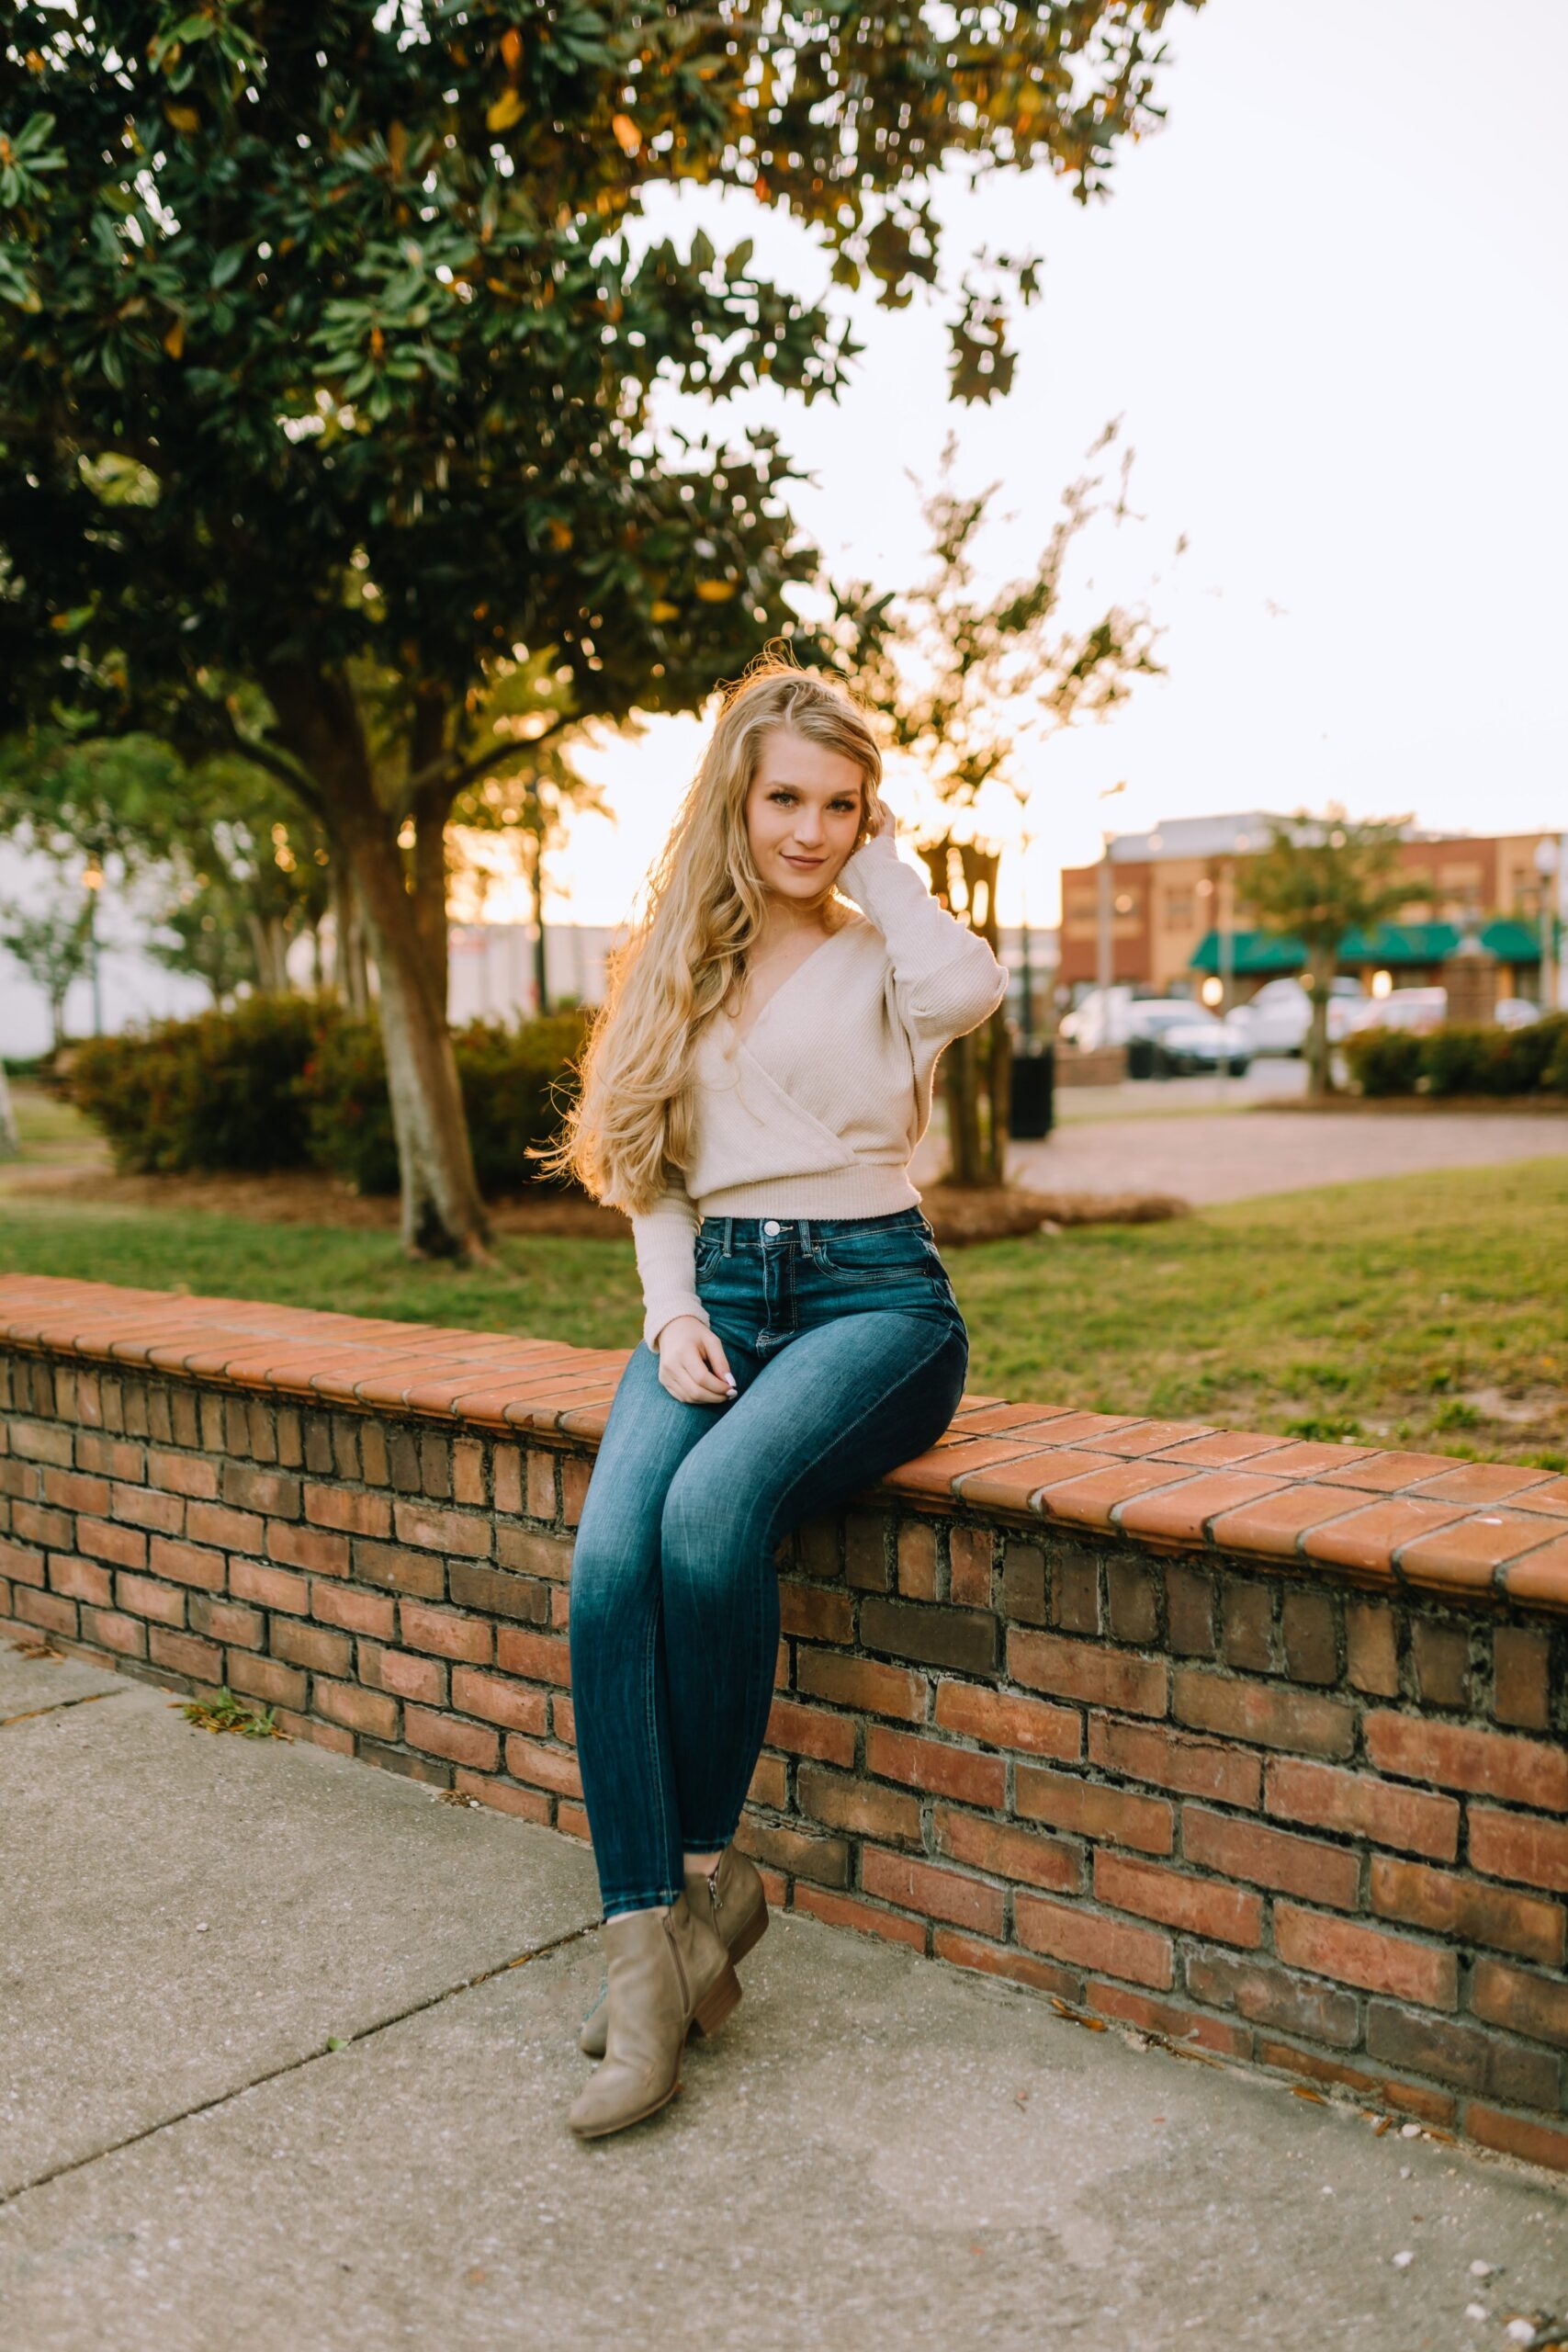
Check out the below images – I always love a good before & after!
Photo delivery time!
Once the photo is straightened, color corrected, cropped and fine tuned to the photographer’s liking, the final edits are exported. Then, depending on the photographer’s workflow – images are often uploaded to an online gallery service such as PicTime, Shootproof or Pixieset. These online galleries allow clients to view, share & download their images. Boutique photographer’s may alternatively offer an in-person reveal of the final images with a custom print ordering session. It’s always important to research your local photographers to find a style & package that fit your needs best!
How photographers store images:
Following delivery of the photos, most photographers choose to save the images from each session in multiple places for safekeeping – cloud based storage & external hard drives are the most popular methods.
Once the photos are safely edited, delivered & stored, the SD card used to shoot with, may be erased and reformatted for the next shoot! I hope you enjoyed reading a bit about what goes on behind the scenes. Please leave a comment below if you have any additional questions about what all goes into a photo session!


